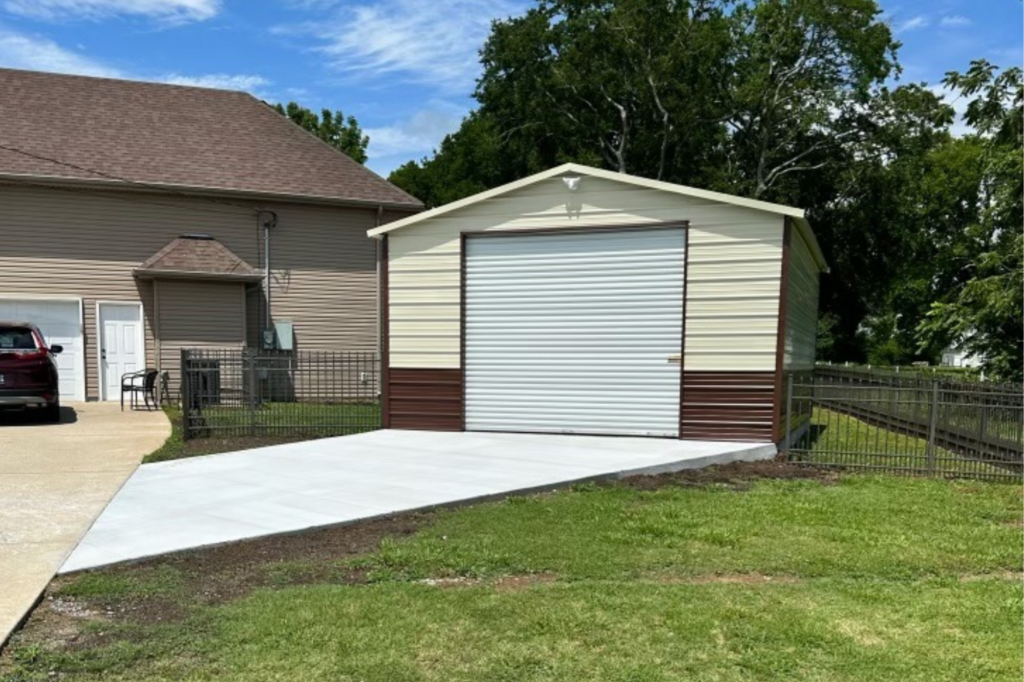
Start by understanding that achieving a durable finish on your concrete garage floor involves a systematic approach. Properly prepping the surface is critical to ensuring the longevity of the coating. But what comes next is equally vital; it sets the foundation for a lasting finish that can withstand daily wear and tear. By following essential steps and taking the time to do it right, you’ll protect your garage floor and enhance its overall appearance.
Key Takeaways
- Thoroughly clean and etch the concrete surface for optimal adhesion.
- Repair cracks promptly to maintain structural integrity.
- Apply a suitable primer to enhance coating durability.
- Use high-quality epoxy for a long-lasting, durable finish.
- Finish with a compatible topcoat for added protection and longevity.
Surface Preparation
Surface preparation is critical to ensuring a successful outcome before beginning any concrete garage floor project. Proper surface preparation involves essential steps to guarantee a durable and long-lasting finish for your garage floor.
One vital aspect of surface preparation is mold prevention and moisture control. These are essential for maintaining the integrity of your garage floor and preventing costly damages in the future.
Thoroughly clean the surface of your concrete garage floor to prevent mold and effectively control moisture. Use a degreaser and a stiff brush to remove dirt, oil, grease, or other contaminants.
Next, inspect the floor for any signs of moisture seepage or water leaks. Addressing these issues early on will help prevent mold growth and ensure a dry surface for coating.
Once the surface is clean and dry, consider applying a moisture barrier to the concrete. This can be a sealant or epoxy coating designed to block moisture from seeping into the concrete.
By creating a barrier against moisture, you prevent mold growth and enhance the longevity of your garage floor coating.
Taking the time to properly prepare the surface of your concrete garage floor for mold prevention and moisture control will set the foundation for a successful and lasting finish.
Crack Repair
Inspecting and addressing cracks in your concrete garage floor is vital to maintaining its structural integrity and preventing further damage.
Before coating your floor, assessing and repairing any cracks appropriately is vital to guarantee a long-lasting finish.
Here’s how you can effectively tackle crack repair:
- Crack Assessment
- Carefully examine your garage floor for any visible cracks, no matter how small they may seem.
- Use a flashlight to check for hairline cracks that might be easily missed but can still lead to significant issues over time.
- Choosing Repair Materials
- Select a high-quality concrete crack repair product that matches the depth and width of the cracks on your floor.
- Consider using epoxy-based fillers for more substantial cracks that require a more potent bonding agent.
Cleaning and Etching
Proper cleaning and etching are essential to guarantee ideal adhesion for your garage floor coating.
Surface preparation techniques like pressure washing and degreasing are vital to remove dirt, oil, and other contaminants.
Etching the concrete surface creates a rough texture that enhances the bond between the coating and the floor, improving its durability and longevity.
Surface Preparation Techniques
When prepping your concrete garage floor, an important step is surface preparation, which involves cleaning and etching. Proper surface preparation is vital for achieving a lasting finish that resists wear and tear. Here are some essential techniques to effectively prep your concrete floor:
- Cleaning: Start by thoroughly cleaning the garage floor to remove any dirt, oil, grease, or other contaminants. Use a degreaser or concrete cleaner to guarantee a clean surface for better surface bonding later.
- Etching: Etching is a process that involves using an acid solution to create a rough profile on the concrete surface. This profile enhances adhesion between the concrete and the coating material, promoting better surface bonding and durability.
- Moisture Control: Before proceeding with any surface preparation, verify that the concrete is dry. Excess moisture can compromise the coating’s adhesion, leading to premature failure.
- Surface Bonding: Proper surface bonding is essential for a long-lasting finish. Follow manufacturer guidelines for the coating you use to guarantee ideal adhesion and durability.
Importance of Etching
Incorporating etching into your concrete garage floor preparation regimen regularly is essential for achieving ideal adhesion and durability.
Etching is a vital step that involves using acidic solutions or mechanical abrasion to create a rough surface on the concrete, allowing for better coating adhesion.
You can employ various etching techniques, such as muriatic acid, or safer alternatives like citric acid-based solutions.
These etching tools help open up the concrete’s pores, ensuring that the coating penetrates effectively and forms a strong bond.

Primer Application
Consistently applying primer is essential when prepping your concrete garage floor for best results.
Primer is a vital foundation for the coating process, guaranteeing adhesion and durability. Here’s what you need to know about primer application:
- Primer types: Various primer options are available, such as epoxy primers, acrylic primers, or moisture-mitigating primers. Selecting the right primer type is critical to achieving a successful coating.
- Surface preparation: Thoroughly cleaning the concrete surface before applying the primer is imperative. Remove all debris, oil stains, and existing coatings to allow the primer to bond effectively.
- Application technique: Use a high-quality roller or brush to apply the primer evenly across the floor. Confirm complete coverage and follow the manufacturer’s instructions regarding drying times and re-coating intervals.
- Drying time: Allow the primer to dry completely before proceeding with the next steps. More drying time is needed to ensure the adhesion of the subsequent coating layers.
Epoxy Coating
Epoxy coating is an essential step in prepping your concrete garage floor. It offers exceptional durability benefits.
Understanding the application process and tips for epoxy coatings can help guarantee a successful and long-lasting finish.
Epoxy Durability Benefits
Applying an epoxy coating to your concrete garage floor offers exceptional durability benefits that enhance the surface’s aesthetics and functionality.
Epoxy coatings provide a protective layer that can withstand heavy traffic, impacts, and chemical spills, ensuring your garage floor remains in top condition for years.
Here are some key durability benefits of epoxy coatings:
- Longevity: Epoxy coatings are known for their longevity, providing a durable surface that can resist wear and tear over time.
- Chemical Resistance: Epoxy coatings are highly chemical-resistant and ideal for garage floors where oil spills and other chemicals occur daily.
- Easy Maintenance: Epoxy coatings are easy to clean and maintain, requiring minimal effort to keep your garage floor looking great.
- Color Options: With a wide range of color options, you can customize your garage floor to match your style and preferences, adding a personal touch to your space.
Application Tips for Epoxy
To guarantee a successful epoxy coating application on your concrete garage floor, you must follow a systematic approach that maximizes adhesion and durability.
When selecting the color for your epoxy coating, consider choosing a shade that complements your garage’s overall aesthetics while providing a functional aspect, such as hiding dirt and stains.
For ideal results, ensure you have the necessary application tools. These tools typically include a roller with an extension pole for easy reach, a brush for cutting in edges and corners, and a squeegee for spreading the epoxy evenly.
Working in small sections is vital to prevent the epoxy from drying before you can evenly distribute it. Start by applying the epoxy in one corner of the garage and work your way outwards, keeping a wet edge to avoid lap marks.
Remember to follow the manufacturer’s instructions regarding drying times and recoating to achieve a professional finish that will enhance your garage floor’s appearance and durability.
Topcoat Application
Begin the topcoat application process by guaranteeing your concrete garage floor is thoroughly cleaned and prepped according to the manufacturer’s guidelines. The topcoat protects the underlying layers and provides the desired finish.
Here are some essential steps to take into account when applying the topcoat:
- Selecting the Right Topcoat Material: Choose a topcoat material compatible with the base coat and suitable for your garage’s conditions. Options include polyurethane, acrylic, or epoxy topcoats, each offering different levels of durability and aesthetics.
- Applying the Topcoat: Use high-quality rollers or brushes to apply the topcoat evenly across the floor. Pay attention to overlapping each pass slightly to guarantee a uniform finish and avoid leaving streaks or uneven patches.
- Maintaining Proper Ventilation: Adequate ventilation is critical during the topcoat application to help with drying and disperse any fumes that may be emitted. Consider using fans or opening doors and windows to improve airflow.
- Guaranteeing Sufficient Drying Time: Per the manufacturer’s instructions, allow the topcoat to dry completely before subjecting it to foot traffic or heavy items. Rushing this step can compromise the finish and durability of the coating.
Final Inspection
Inspecting the outcome of your topcoat application is critical in confirming the quality and longevity of your concrete garage floor finish. Once the topcoat has been applied, it’s time to perform a detailed final inspection to ensure your hard work pays off.
Focus on the final touches to confirm a flawless finish. Check for missed spots or uneven coverage. Use a bright light source to inspect the entire floor surface, looking for any imperfections that may need to be addressed before the topcoat fully cures.
Next, refer to your inspection checklist to systematically review all key areas. Check for bubbles, streaks, or discoloration that may indicate issues with the topcoat application.
Pay close attention to corners, edges, and areas with high foot traffic, as these spots are prone to wear and tear over time. Confirm that the topcoat has dried uniformly and no debris has settled onto the fresh surface.
Summary
Ultimately, by following these essential steps for prepping and coating your concrete garage floor with Elite Concrete, you can achieve a finish that will last a lifetime. With meticulous surface preparation, thorough crack repairs, proper cleaning and etching, precise primer application, expertly applied epoxy coating, and a protective topcoat, your garage floor will be transformed into a durable and visually stunning masterpiece. So why wait? Take the first step with Elite Concrete toward a garage floor that will defy time and wear!

